
Making matcha at home often results in a clumpy, bitter mess that tastes nothing like the smooth, sweet foam served in high-end cafes. You invest in expensive ceremonial powder, only to watch it turn into a gritty green sludge in your cup, which feels like a complete waste of money and effort. Here is the deal: by mastering three simple variables—sifting, temperature, and whisk motion—you can whisk a perfect, velvety bowl of tea in under two minutes.
We will explore the precise techniques on how to make matcha tea at home to ensure a consistent, professional result every time. Whether you are a beginner or looking to refine your ritual, this guide covers everything from tool selection to water chemistry.
Table of Contents
1. What Differentiates Matcha from Standard Green Tea?
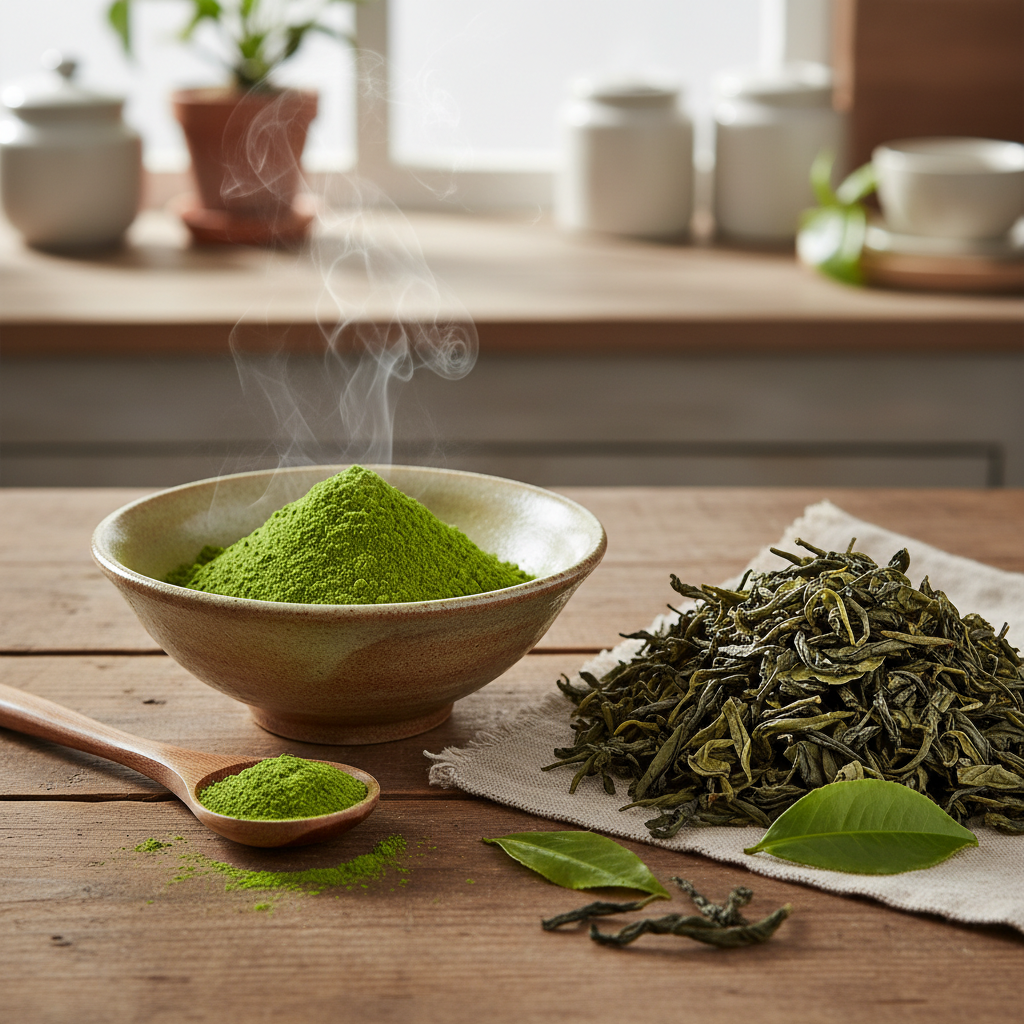
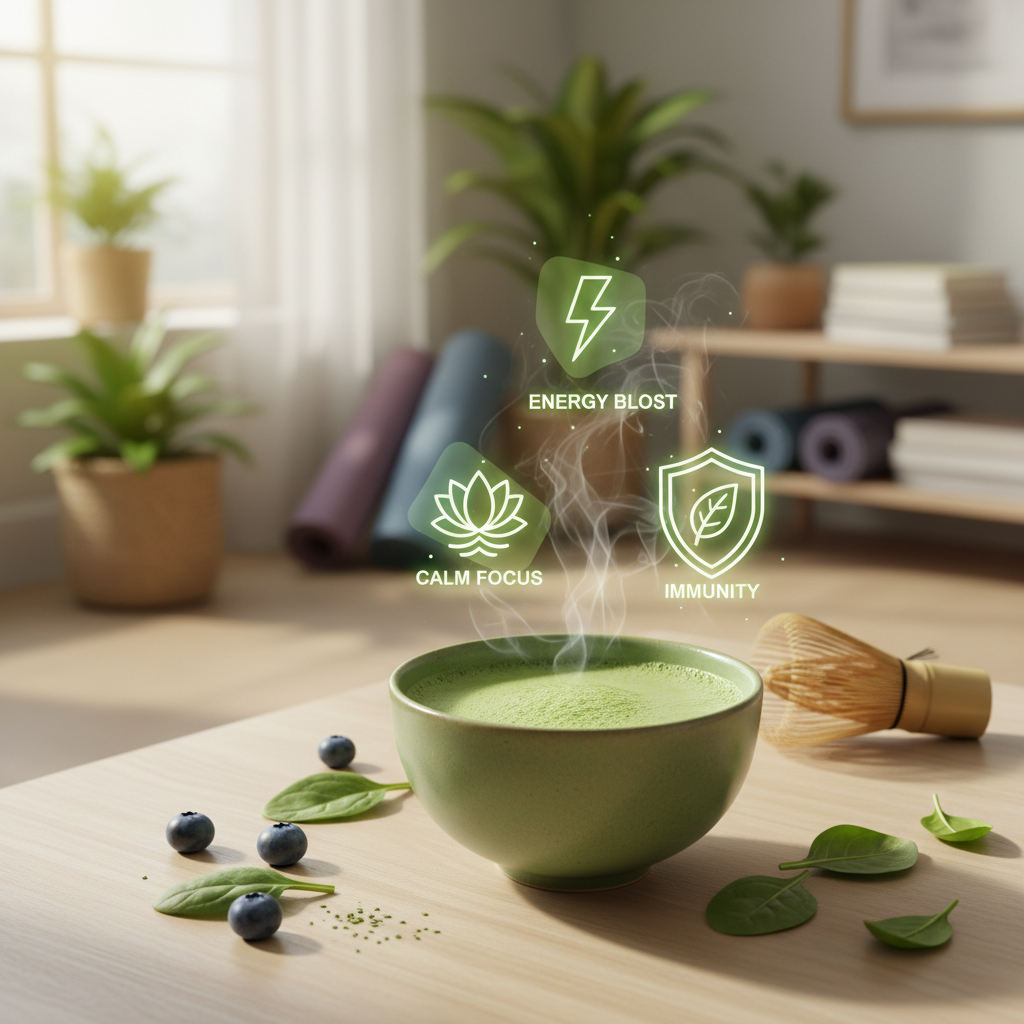
The fundamental difference lies in consumption; when you drink matcha, you are ingesting the entire leaf rather than just an infusion. Learning how to make matcha tea at home begins with understanding that this is a suspension of particles, not a brewed extract. This suspension method delivers a potent dose of nutrients directly to your system.
The Whole Leaf Advantage
- Suspension vs. Infusion: You consume 100% of the leaf’s soluble and insoluble components.
- Nutrient Density: Provides significantly higher antioxidant levels than steeped tea.
- Texture: Creates a full-bodied, creamy mouthfeel unique to powdered tea.
Shade-Growing and Chlorophyll
The leaves, known as Tencha, are shaded for 20-30 days before harvest to inhibit photosynthesis. This process forces the plant to overproduce chlorophyll and amino acids like L-Theanine. The resulting bright green color is a direct visual indicator of this chemical change.
Analysis: Nutrient Absorption Rates
The table below highlights why the preparation method matters for health impact.
Metric | Loose Leaf Steeping | Matcha Suspension | |
|---|---|---|---|
Leaf Consumption | 0% (Discarded) | 100% | |
Antioxidant Yield | 10-20% | 100% | |
Caffeine Release | Slow/Moderate | Immediate/Sustained |
Key Takeaway: Matcha acts as a nutrient-dense food source rather than a simple beverage because you consume the physical leaf structure.
2. Which Grade of Powder Should You Actually Buy?
Selecting the right grade is the first critical decision, as no amount of technique can fix low-quality powder. You might be wondering why there is such a massive price difference between tins that look identical on the shelf. It ultimately comes down to the position of the leaf on the tea bush and the processing care.
Ceremonial vs. Culinary Grades
- Ceremonial: Made from the youngest, most tender leaves at the top of the plant; designed for drinking pure with water.
- Culinary: Harvested from lower, tougher leaves; best used for baking or smoothies where strong flavors compete.
- Selection Tip: Never use culinary grade matcha for a traditional tea bowl, as it will be unpleasantly astringent.
Identifying Quality Indicators
High-quality powder should be an electric, vibrant green, resembling the color of neon grass. Lower quality powders often appear dull, yellowish, or brownish-green, indicating oxidation or mature leaves. The aroma should be sweet and grassy, not stale or hay-like.
Sourcing and Flavor Profiles
Origin impacts the flavor profile, with different Japanese regions producing distinct characteristics.
Grade | Color Profile | Best Application | Price Point | |
|---|---|---|---|---|
Ceremonial | Vibrant Emerald | Usucha (Tea), Koicha | High | |
Premium | Bright Green | Lattes, Smoothies | Medium | |
Culinary | Olive/Dull Green | Baking, Ice Cream | Low |
Key Takeaway: Always choose ceremonial grade for drinking; reserve culinary grades for recipes where sugar and dairy mask bitterness.
3. Do You Really Need a Bamboo Whisk to Start?
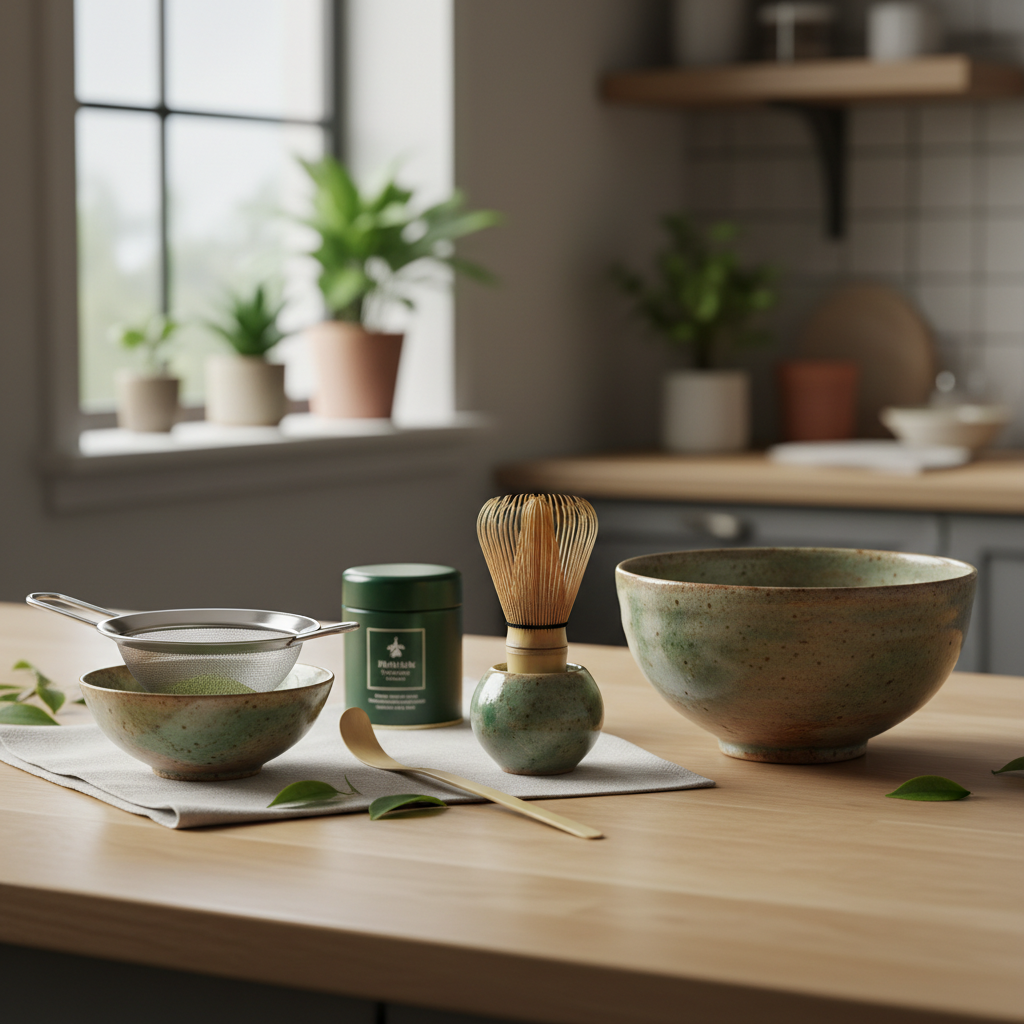
While modern tools exist, the traditional Chasen remains the gold standard for a reason. When you learn how to make matcha tea at home , you quickly realize that metal utensils fail to create the necessary micro-foam. The flexibility of bamboo prevents damage to your bowl while whipping air into the liquid.
The Mechanics of the Chasen
- Tine Count: A standard whisk has 80-100 tines that act individually to break up clumps.
- Material: Bamboo is flexible and will not scratch the glaze of your tea bowl.
- Aeration: Designed specifically to introduce air bubbles for a creamy texture.
Modern Alternatives vs. Tradition
Electric frothers are a popular convenience tool, but they tend to create large, soapy bubbles rather than a dense foam. They are acceptable for lattes but lack the finesse required for a traditional bowl of Usucha. A metal kitchen whisk is generally too rigid and wide for a small tea bowl.
Tool Efficiency Analysis
Comparing the effectiveness of different mixing tools reveals why tradition persists.
Tool | Foam Quality | Texture Smoothness | Risk to Bowl | |
|---|---|---|---|---|
Bamboo Whisk | Micro-foam (High) | Silky | None | |
Metal Whisk | Large Bubbles (Low) | Potential Lumps | High (Scratches) | |
Electric Frother | High Volume (Med) | Good | Low |
Key Takeaway: A bamboo whisk is not just ceremonial; it is a functional engineering marvel designed for perfect suspension.
4. Why Must You Sift the Powder Before Whisking?
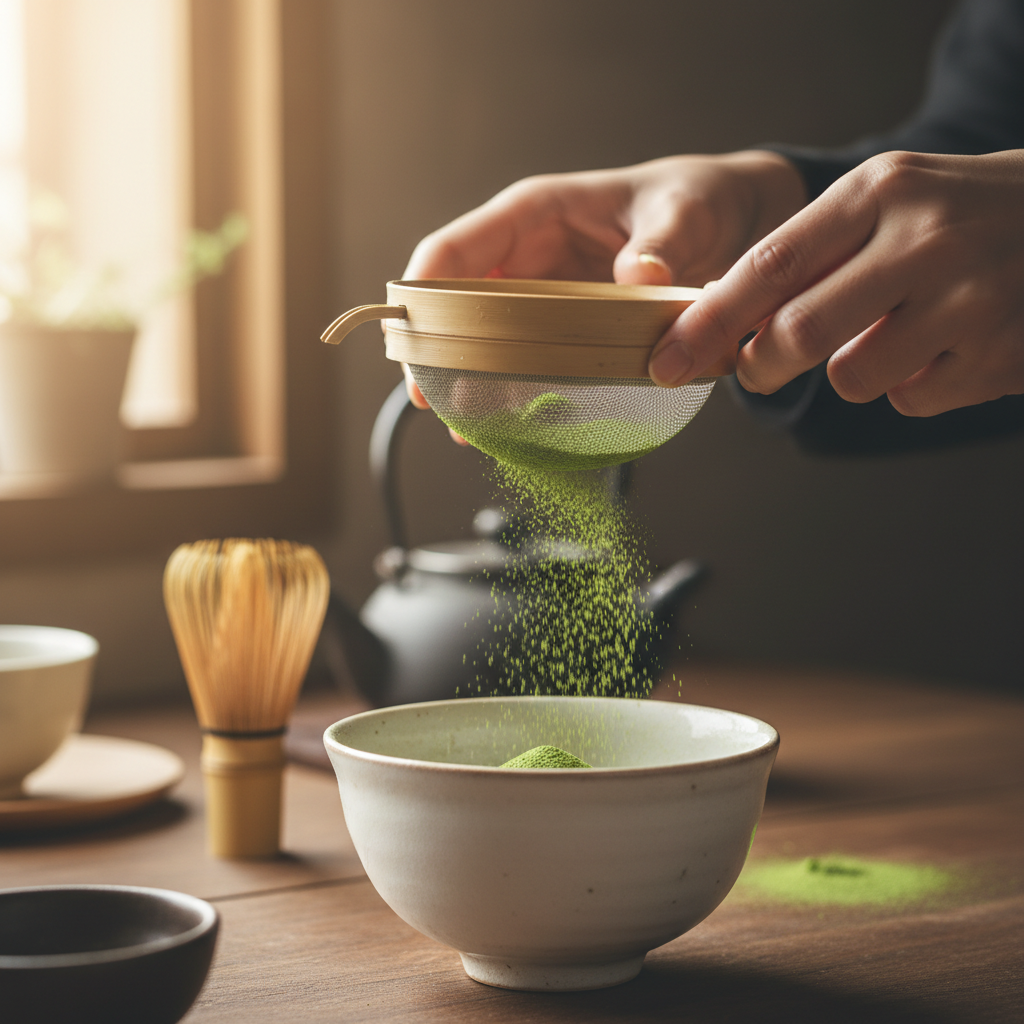
Matcha is ground into microns, meaning the particles are incredibly fine and prone to static electricity. But here is the kicker: even the most vigorous whisking cannot break apart these electrostatic clumps once they touch water. Sifting is the single most skipped step that leads to a gritty final beverage.
The Static Cling Phenomenon
- Particle Size: The powder is fine enough to enter pores, causing it to stick together naturally.
- Hydration Barrier: Clumps form a dry seal when wet, keeping the inside powder dry and bitter.
- Texture Ruin: Drinking an unsifted tea results in unpleasant bursts of dry powder in your mouth.
Using the Right Sieve
A simple, fine-mesh stainless steel strainer is all that is required for this step. Place it directly over your bowl and gently push the powder through with a spoon or ladle. This process takes less than ten seconds but completely transforms the mouthfeel.
Solvency Impact Analysis
Sifting directly correlates to the speed of suspension and flavor release.
Variable | Unsifted Preparation | Sifted Preparation | |
|---|---|---|---|
Time to Whisk | 45-60 Seconds | 15-30 Seconds | |
Mouthfeel | Gritty/Chalky | Smooth/Velvety | |
Visual Appearance | Dark Specks Visible | Uniform Jade Foam |
Key Takeaway: Always sift your matcha; it creates a fluffy base that dissolves instantly upon contact with water.
5. How Does Water Temperature Change the Flavor?
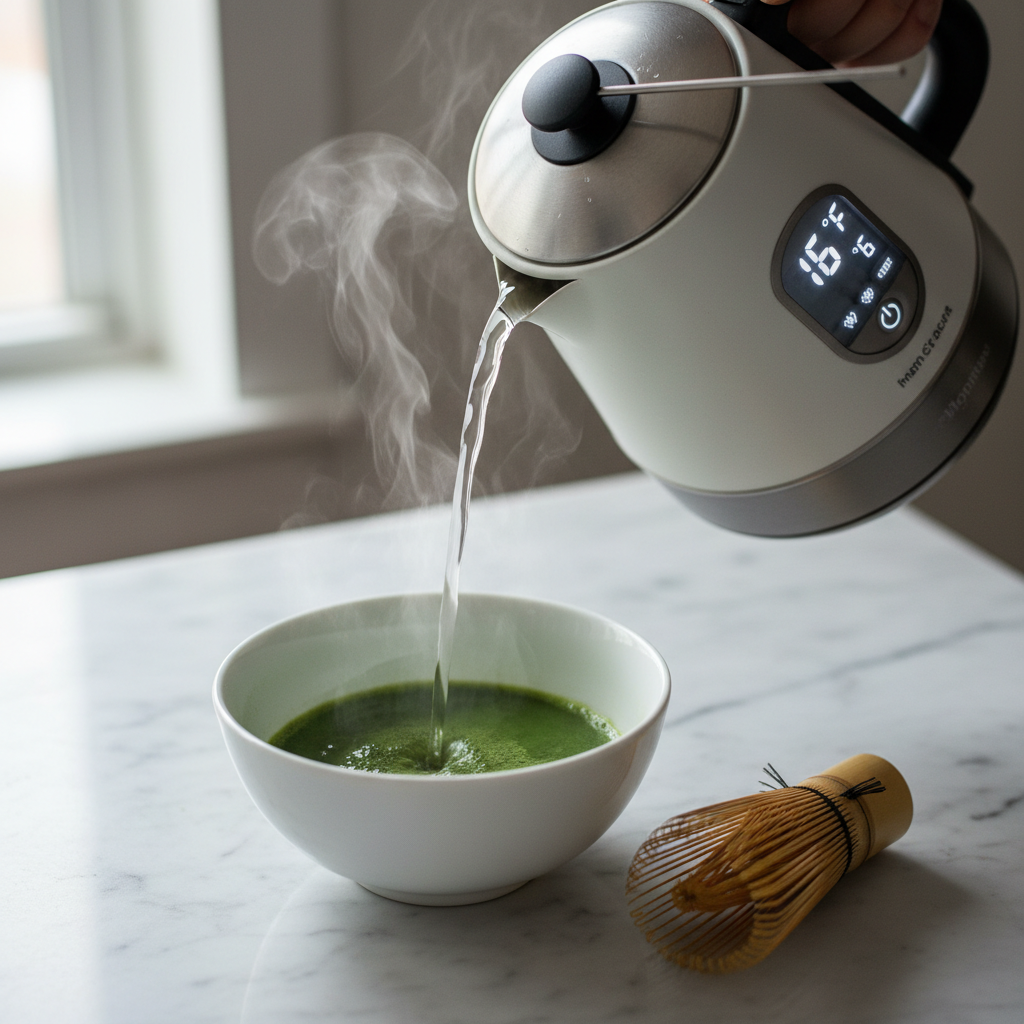
Using boiling water is the most common mistake beginners make when figuring out how to make matcha tea at home . Boiling water scorches the delicate leaves, releasing tannins instantly and destroying the sweet amino acids. This results in an astringent, bitter brew that masks the tea’s natural complexity.
The Boiling Water Mistake
- Chemical Reaction: Heat above 190°F rapidly degrades L-Theanine.
- Tannin Release: High heat extracts bitterness faster than sweetness.
- Aroma Loss: Delicate floral top notes evaporate immediately in steam.
The Golden Temperature Range
The ideal temperature for most ceremonial matcha is 175°F (80°C). Ready for the good part? You do not need a fancy thermometer to achieve this. Simply pouring boiling water into a cool cup, waiting one minute, and then pouring it into your bowl typically drops the temperature to the perfect range.
Temperature vs. Taste Analysis
The flavor profile changes drastically within a small temperature window.
Temperature | Flavor Profile | Bitterness Level | Aroma | |
|---|---|---|---|---|
212°F (100°C) | Astringent, Flat | High | Burnt | |
175°F (80°C) | Sweet, Umami | Low/Balanced | Floral | |
140°F (60°C) | Mild, Sweet | None | Weak |
Key Takeaway: Patience with water cooling rewards you with a naturally sweet, savory cup without needing added sugar.
6. What Is the Proper Ratio for the Perfect Bowl?
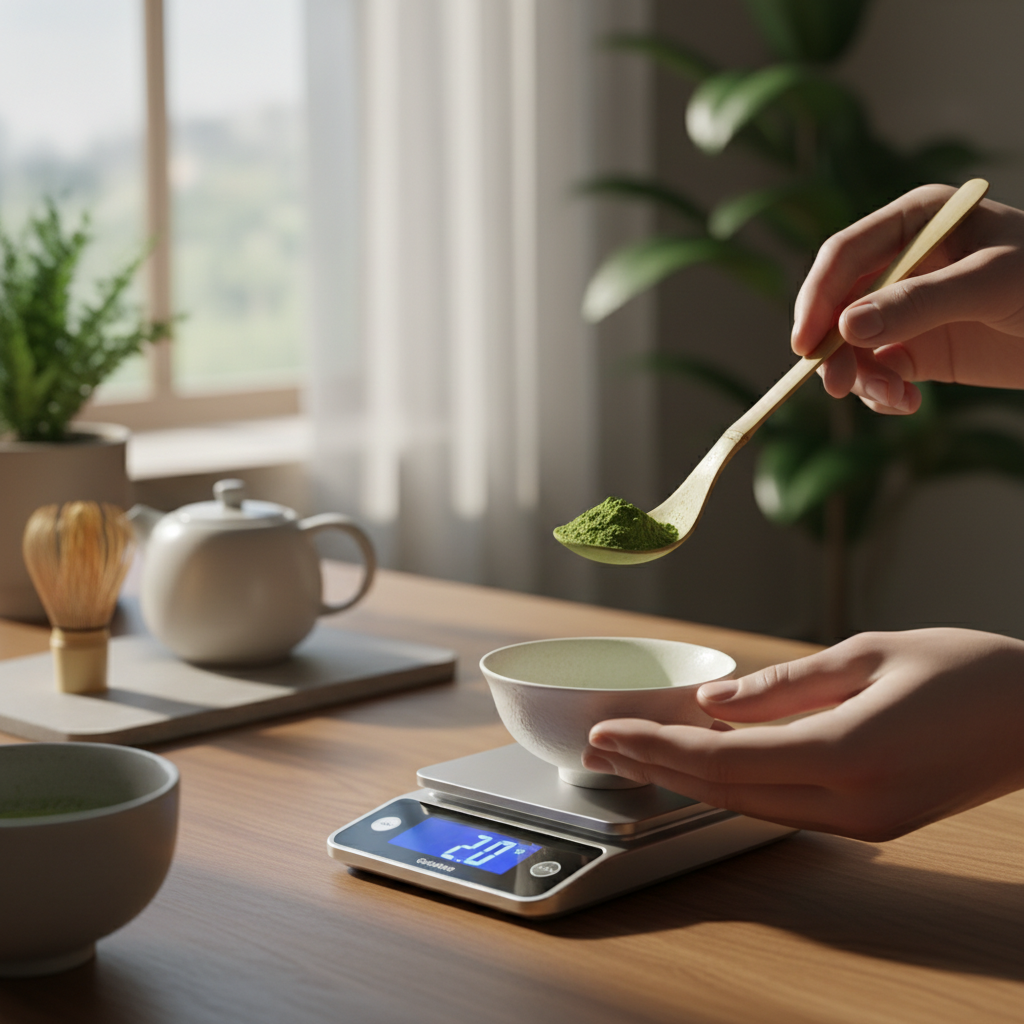
Precision is key in Japanese tea preparation, but it allows for personal adjustment once you know the baseline. The standard ratio ensures that the tea is neither too watery nor too thick. Using a Chashaku (bamboo scoop) adds to the ritual, but a standard kitchen teaspoon works just as well.
Standard Usucha Measurements
- Powder: 2 grams, which is roughly two bamboo scoops or one level teaspoon.
- Water: 2 ounces (60ml) of hot water.
- Consistency: This creates Usucha (thin tea), which should have a broth-like viscosity.
Adjusting for Koicha (Thick Tea)
Koicha is a thick, paint-like syrup served in formal ceremonies, using double the powder and half the water. It requires the highest quality matcha because there is no water to dilute any bitterness. This style is kneaded rather than whisked to avoid creating foam.
Ratio Consistency Analysis
Changing the water-to-powder ratio drastically alters the drinking experience.
Style | Powder Amount | Water Volume | Viscosity | |
|---|---|---|---|---|
Thin (Usucha) | 2g (1 tsp) | 60-70ml | Broth-like | |
Thick (Koicha) | 4g (2 tsp) | 30-40ml | Paint-like | |
Latte Base | 3g (1.5 tsp) | 40ml | Concentrated |
Key Takeaway: Start with the 2g to 60ml ratio (1:30), then adjust the water volume to suit your taste preference.
7. How Do You Whisk for That Famous Frothy Foam?
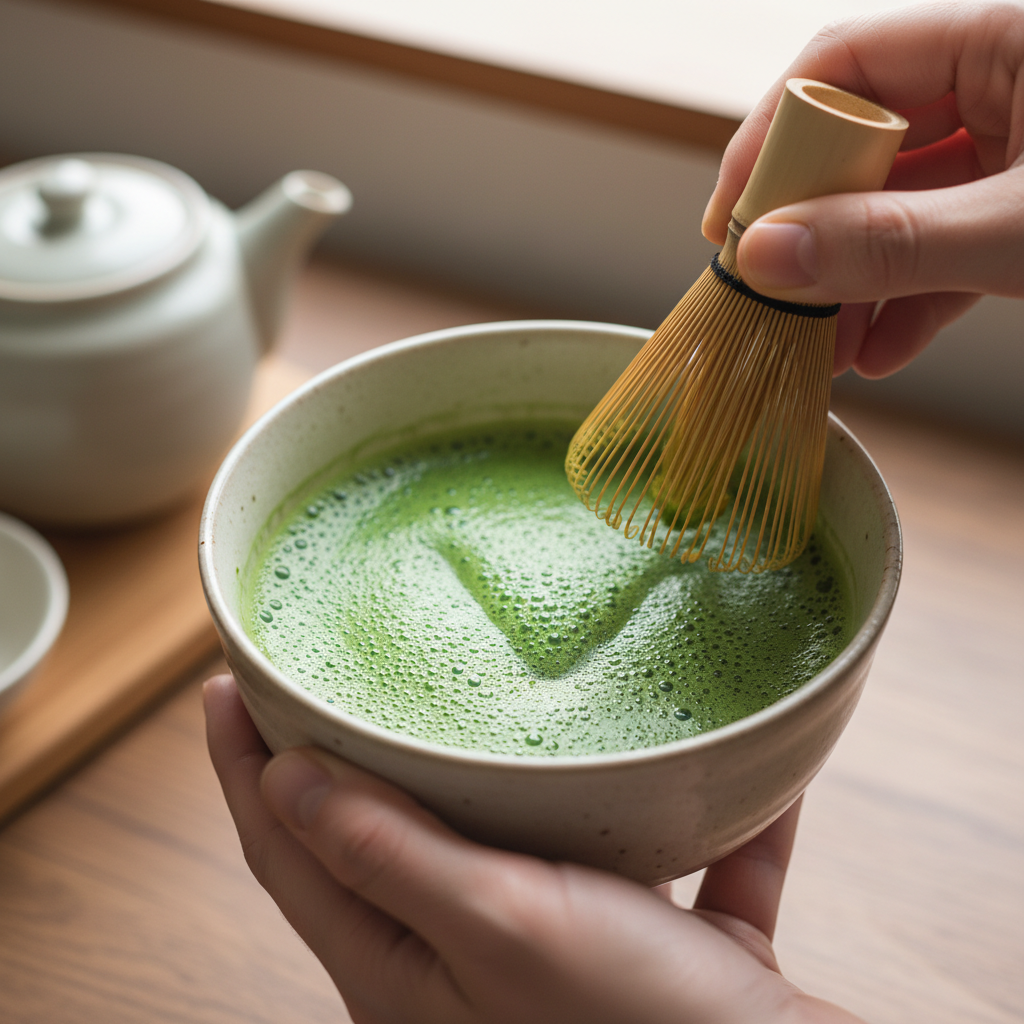
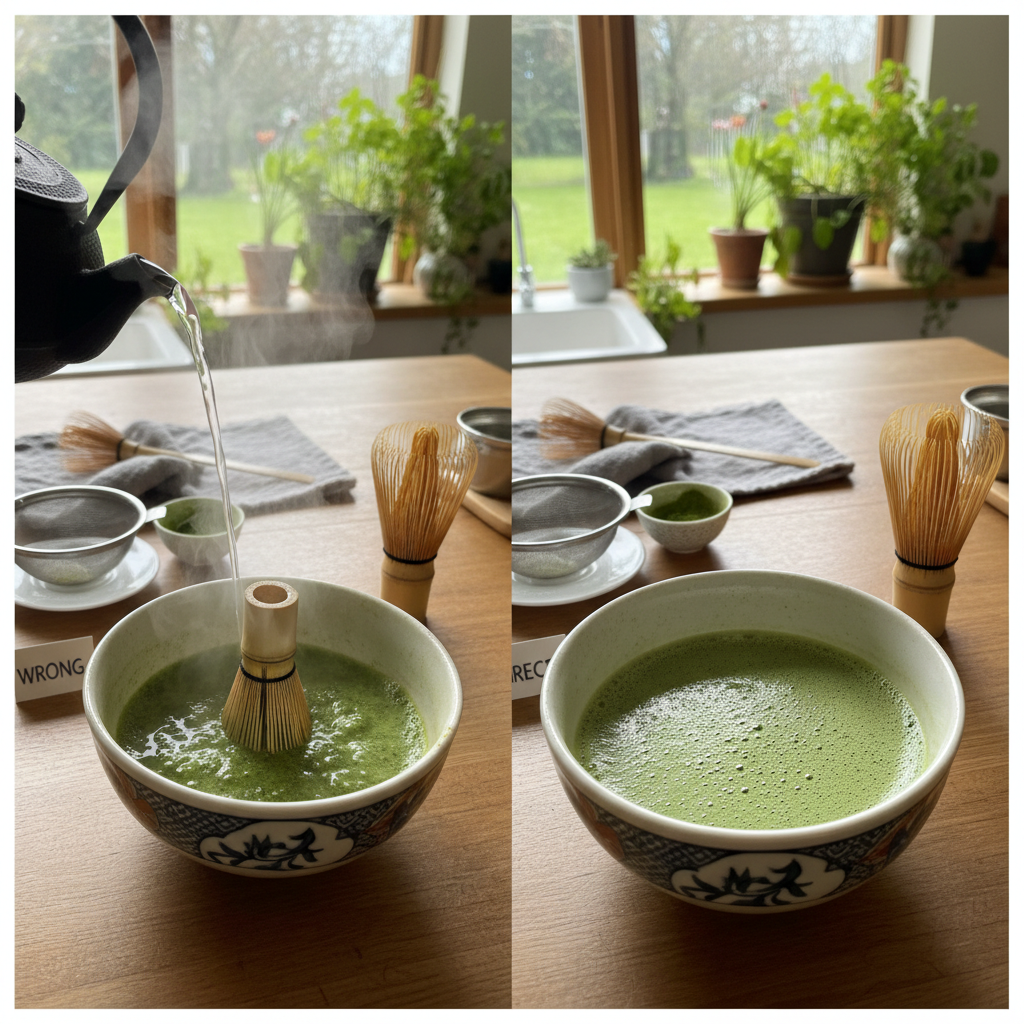
The whisking technique is the physical engine of how to make matcha tea at home , transforming ingredients into a beverage. Here is the secret: never whisk in a circular stirring motion, as this merely pushes the water around without aerating it. You need a vigorous, zig-zag motion to force air into the liquid.
The Wrist Motion Technique
- The Grip: Hold the whisk from the top, keeping your wrist flexible.
- The Shape: Trace a rapid “W” or “M” shape in the bowl.
- The Speed: Whisk as fast as possible for 20-30 seconds until a thick foam layer appears.
Breaking the Big Bubbles
Once a foam has developed, slow your whisking speed down significantly. Gently graze the surface of the foam with the tips of the tines to break any large bubbles. This “polishing” step is what creates the micro-foam characteristic of a cafe-quality drink.
Aeration Physics Analysis
Proper aeration releases the volatile aromatic compounds, enhancing the flavor.
Motion Type | Time Required | Foam Result | |
|---|---|---|---|
Circular Stir | N/A | No Foam (Flat) | |
Zig-Zag (W/M) | 20-30 Seconds | Thick Micro-foam | |
Pounding | N/A | Splashing/Messy |
Key Takeaway: Use your wrist, not your elbow, to generate the speed required for the “W” motion.
8. Can You Make Matcha Without Traditional Tools?
Not everyone has a full ceremonial tea set, but that should not stop you from enjoying matcha. While traditional tools are optimal, kitchen hacks can produce a decent cup. The goal remains the same: suspending the powder evenly in the water.
The Mason Jar Shake Method
- Technique: Combine water and sifted powder in a jar, seal tightly, and shake vigorously.
- Pros: Zero special equipment needed; creates a very thick foam.
- Cons: Cannot control bubble size; texture is less silky than whisked tea.
Is a Blender Overkill?
- Usage: Best for making large batches or matcha lattes.
- Technique: Pulse on low to avoid generating too much heat or foam.
- Caution: It can introduce too much air, making the tea feel “bloated” or difficult to drink.
Alternative Method Scoring
We evaluate these hacks based on convenience and final texture quality.
Method | Convenience | Texture Quality | Cleanup | |
|---|---|---|---|---|
Mason Jar | High | Moderate (Large Bubbles) | Easy | |
Kitchen Whisk | High | Low (Often Clumpy) | Easy | |
Blender | Low (Overkill) | High (Too frothy) | Difficult |
Key Takeaway: The Mason jar method is the most effective hack for beginners who want to try matcha before buying a whisk.
9. Why Does My Matcha Taste Bitter or Gritty?
Troubleshooting is a normal part of learning how to make matcha tea at home . If your bowl tastes “off,” it is usually due to one of three variables: temperature, grade, or portion. Diagnosing the issue ensures your next bowl will be an improvement.
Troubleshooting Temperature Mistakes
- Symptom: Sharp, biting bitterness on the tip of the tongue.
- Cause: Water was too hot (boiling).
- Fix: Let the kettle sit for 2-3 minutes after boiling before pouring.
Did You Whisk Vigorously Enough?
- Symptom: Chalky texture or sludge at the bottom of the bowl.
- Cause: Incomplete suspension due to slow whisking or no sifting.
- Fix: Sift the powder and whisk aggressively for at least 15 seconds.
Checking the Freshness of Your Powder
Matcha is perishable. Old powder oxidizes, turning yellow and losing its vibrancy. Using stale matcha will always result in a flat, cardboard-like flavor regardless of your preparation technique.
Symptom | Probable Cause | Solution | |
|---|---|---|---|
Bitter Taste | Water too hot / Low Grade | Cool to 175°F / Buy Ceremonial | |
Gritty Texture | No Sift / Poor Whisking | Use Strainer / Whisk Faster | |
No Foam | Water too cool / Not enough powder | Increase Temp / Check Ratio |
Key Takeaway: Bitterness is usually a sign of burned tea leaves; grit is a sign of skipped sifting.
10. How Should You Store Leftover Powder for Freshness?
Matcha is sensitive to air, light, and heat, degrading rapidly once the seal is broken. This is where it gets interesting: treating your tea like a fresh vegetable rather than a dried herb is the key to longevity. Proper storage protects your investment and flavor.
Oxidation is the Enemy
- The Fridge: The best place for opened matcha is the refrigerator to slow oxidation.
- The Seal: Always push excess air out of the bag or use a tin with a tight seal.
- Condensation: Allow the refrigerated tin to reach room temperature before opening to prevent moisture buildup.
How Quickly Should You Finish an Opened Tin?
Ideally, consume a 30g tin within 3-4 weeks of opening. While it will not “spoil” in a way that makes you sick, the vibrant flavor and color will fade significantly after a month of exposure to air.
Shelf Life Analysis
Storage conditions dictate how long your powder remains ceremonial quality.
Location | Shelf Life (Opened) | Risk Factors | |
|---|---|---|---|
Pantry (Dark) | 1 Month | Heat Fluctuations | |
Refrigerator | 2-3 Months | Condensation/Odors | |
Countertop (Sun) | 1 Week | UV Damage/Heat |
Key Takeaway: Store your tightly sealed matcha in the fridge to maintain its electric green color and sweet umami notes.
Conclusion
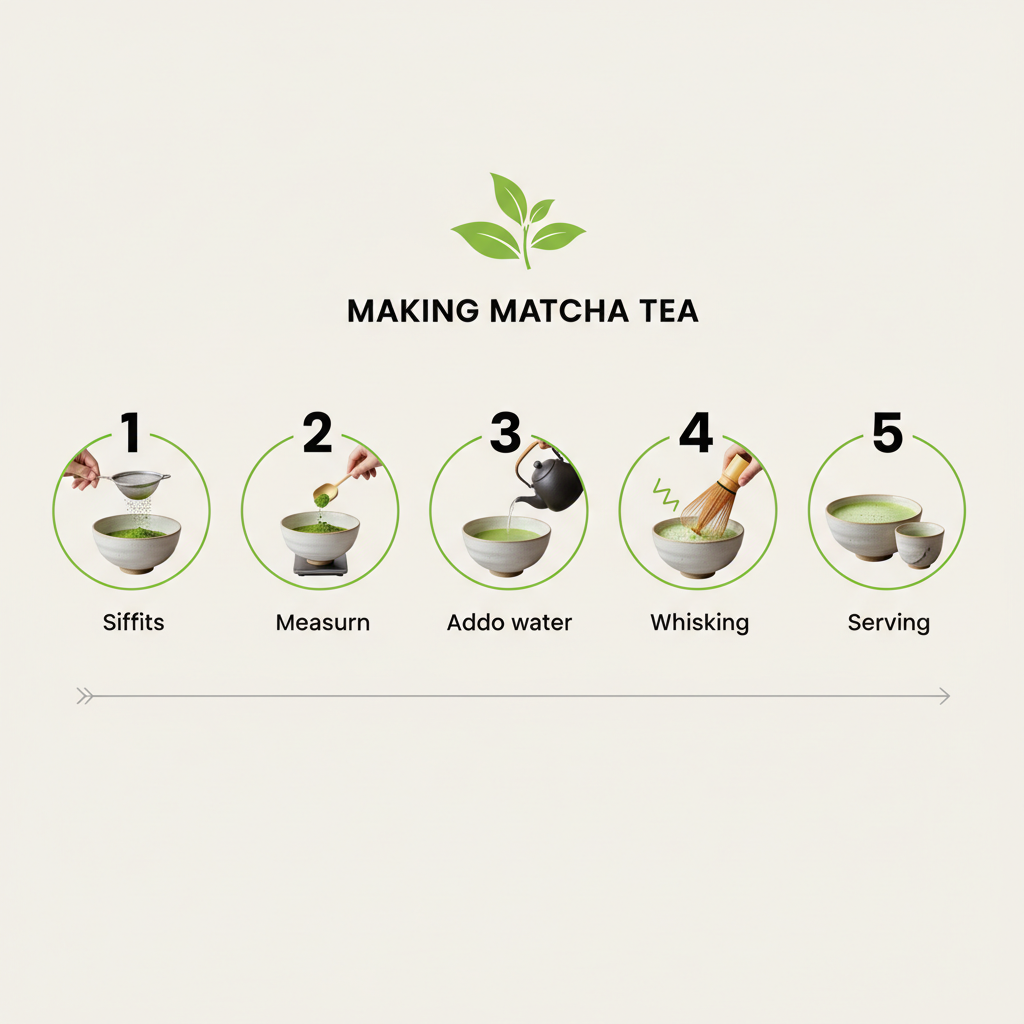
Mastering the art of matcha at home does not require years of training, only attention to detail. We have covered the three pillars of the perfect bowl: Sifting to ensure a smooth texture, Temperature control (175°F) to preserve the sweet flavor, and the “W” whisk motion to create that signature foam. By following these steps, you transform a simple caffeine fix into a restorative daily ritual.
At Riching Matcha, we believe the quality of the ingredient dictates the quality of the experience. Whether you are looking for ceremonial grades for your morning bowl or bulk options for your business, our organic sourcing ensures a clean, vibrant taste. Contact us today to explore our premium selections and elevate your tea journey.
Frequently Asked Questions (FAQ)
Can I use sweeteners like honey or sugar in traditional matcha?Yes, you absolutely can. While traditional ceremony tea is drunk pure to appreciate the earthy notes, adding a touch of honey or maple syrup is perfectly acceptable for daily drinking. It helps counteract any bitterness if you are new to the flavor profile.
Is it okay to make matcha with cold water?Yes, cold-brew matcha is delicious and refreshing. Since cold water does not extract tannins, the tea will naturally taste sweeter and smoother. Simply shake the powder with cold water and ice in a jar; it may take longer to dissolve, so vigorous shaking is required.
How much caffeine is in one bowl compared to coffee?A typical 1 teaspoon (2g) serving of matcha contains roughly 70mg of caffeine, whereas a standard cup of coffee has about 95mg. However, the effect of matcha is often described as a “calm alertness” without the jitters, thanks to the presence of L-Theanine.
Can I drink the sediment at the bottom of the bowl?Yes, you should drink it. Matcha is a suspension, not an infusion, so the powder naturally settles if let sit. Simply swirl your bowl gently before taking your last sip to ensure you consume all the nutrient-rich tea particles.
What do I do if I don’t have a tea bowl?Any deep, wide bowl will work, such as a small cereal bowl or rice bowl. The key is to have enough width for the whisk to move back and forth. A standard coffee mug is often too narrow and tall, making it difficult to whisk properly without hitting the sides.